Have you ever noticed your phone’s pictures don’t look as good as you’d like? Even with filters, they lack something. Learning digital photography basics changes how you see the world. It’s a journey from picture-taker to storyteller. This begins with knowing your camera and grows with each new skill you learn.
This guide is here to help you start. You’ll learn how to use your camera to make art that’s unique to you.
Key Takeaways
- Understanding your digital camera is crucial for taking great photos.
- Essential gear can significantly enhance your photography experience.
- Learning the basics of exposure helps you control the outcome of your images.
- Knowing how to use camera settings and features can dramatically improve your shots.
- Developing a good composition technique will make your photos stand out.
Understanding Your Digital Camera
Learn the basics of camera anatomy before you start digital photography. Whether it’s DSLR or mirrorless cameras, knowing your camera well will improve your photo skills.
Start by getting to know what’s on your camera. Most digital cameras are set up the same. They have a power button, mode dial, and shutter release button. Knowing these parts makes it easier to use your camera.
DSLR and mirrorless cameras look different and work in distinct ways. DSLRs have a mirror for an optical viewfinder. Mirrorless cameras are smaller because they don’t have a mirror. They use an electronic viewfinder.
When you want to know more about digital camera basics, there are other key parts. These include image sensors, lenses, and memory cards. They are important for taking and saving your photos. Knowing about them helps you use your camera to its fullest.
It ensures you can catch every special moment.
Essential Gear for Beginners
Starting your photography journey is exciting but can be tough. The right photography accessories can change your experience a lot. This section will look at key camera gear to check off for beginners.
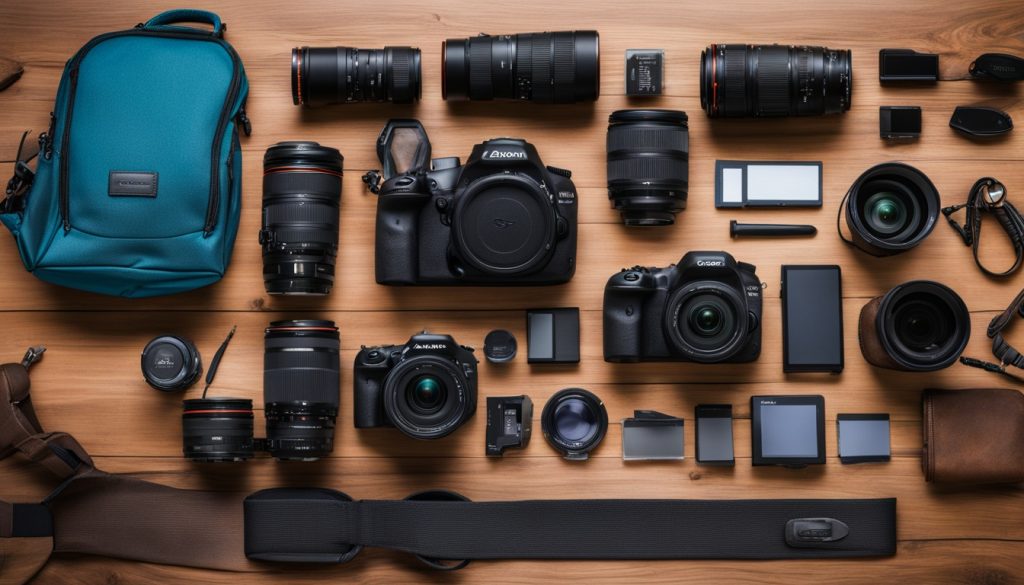
First, get a solid tripod. It’s essential for steady shots. Look at tripods from Manfrotto or Vanguard. These brands are favorites among photography experts.
Now, on to lenses. Start with a basic zoom lens. You can also get macro lenses for close shots or wide-angle lenses for big views. Canon and Nikon have budget lenses perfect for starters.
Also, get good storage. A reliable SD card is a must-have. Aim for 32GB or more. SanDisk and Lexar are trusted by photo pros for their quality.
Other important items include lens cleaning kits, extra batteries, and a top-notch camera bag. Lowepro and Peak Design make some of the best. This full list ensures you’re ready for any photo shoot.
Having the right gear early on makes your photo journey better. A detailed checklist helps you not forget anything. So, get your gear together, and enjoy your photography adventure!
The Basics of Exposure
Learning about exposure is vital for photography success. It centers around the exposure triangle. The triangle features aperture, shutter speed, and ISO settings. Together, they balance how light enters the camera.
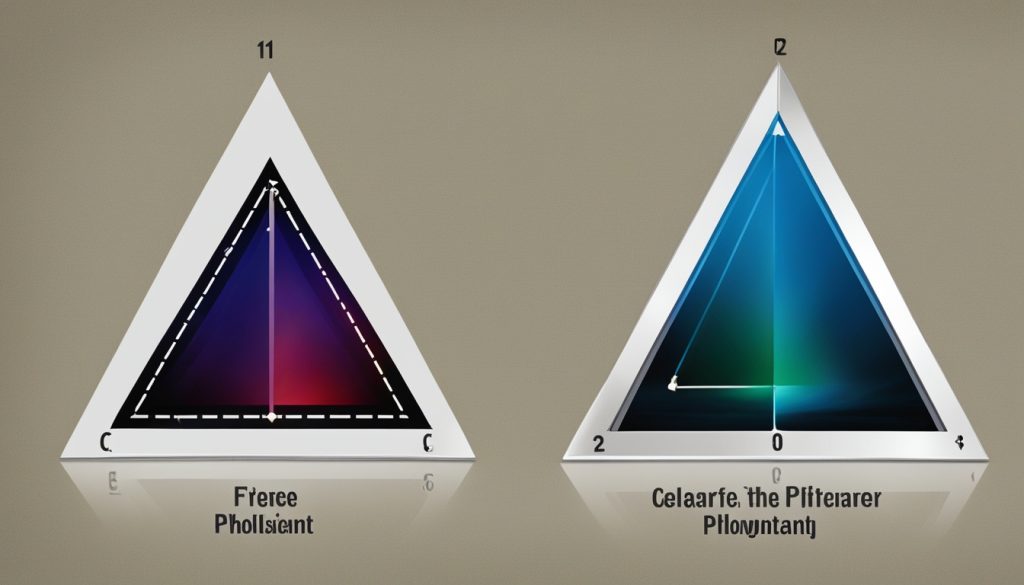
The aperture controls light by changing the lens opening size. A big opening (small f-number) brings in more light for a blurred background. But, a small opening (big f-number) sharpens the entire photo by letting in less light.
Shutter speed manages how long the camera’s shutter is open. It impacts clarity and motion in pictures. A quick speed freezes actions, making them sharp. Meanwhile, a slow speed blurs motion, adding a dynamic feel to images.
ISO adjusts the camera’s light sensitivity. Low ISO is best for sunny days to keep photos clean. On the other hand, high ISO handles dim light better but adds grain. Finding a balance in the exposure triangle is crucial. It ensures the look and feel of your photos match your vision.
Learning to Use Digital Camera Settings and Features
As you start your journey into digital photography, it’s important to know your camera well. Manual mode is a good place to begin. It hands you the reigns on exposure, shutter speed, and aperture. This mode teaches you how these settings work together to capture the perfect image.
But there’s more to explore. Aperture priority and shutter priority modes are also key. With aperture priority, you pick the aperture while the camera manages the shutter speed. It’s perfect for both close-up shots and sweeping vistas. And with shutter priority, you decide the shutter speed, crucial for action shots.
Personalizing your camera is the next step. Today’s cameras let you customize buttons and menus. The manual holds lots of useful info, as do blogs by photography pros. Share tips with other photography fans online to learn even more about maximizing your camera.
Tinkering with these settings is how you really get to know your camera. This knowledge will boost your photography skills and make taking photos more enjoyable. So, try new things and see your images improve.
Beginner’s Guide to Digital Photography: Essential Tips and Tricks
Starting your photography journey is exciting and a bit tough. We’ve got some great beginner tips to help you begin. It’s important to get to know your camera first. Learn about its settings and features. Also, practice holding it steady. Try different ways to hold your camera based on how you like to shoot.
Being creative is just as key as knowing your camera well. Try things like telling stories with your photos. Or go on walks to take pictures with a certain theme. These fun tasks will improve your picture-taking skills. You can also get ideas from famous photo books. And take part in online challenges to stay creative.
Talking to people who’ve been taking photos for a while can also lift your skills. They can give you helpful advice. They might even show you new ways to take photos during workshops. Always try new things and never stop learning. Most importantly, have fun discovering the world through your camera!
How to Hold a Digital Camera
Learning how to hold a digital camera is key for budding photographers. It’s important to hold the camera the right way. This helps make your pictures clearer by cutting down on movement and keeping your body still. Let’s take a look at some tips that will make your photography experience more stable.
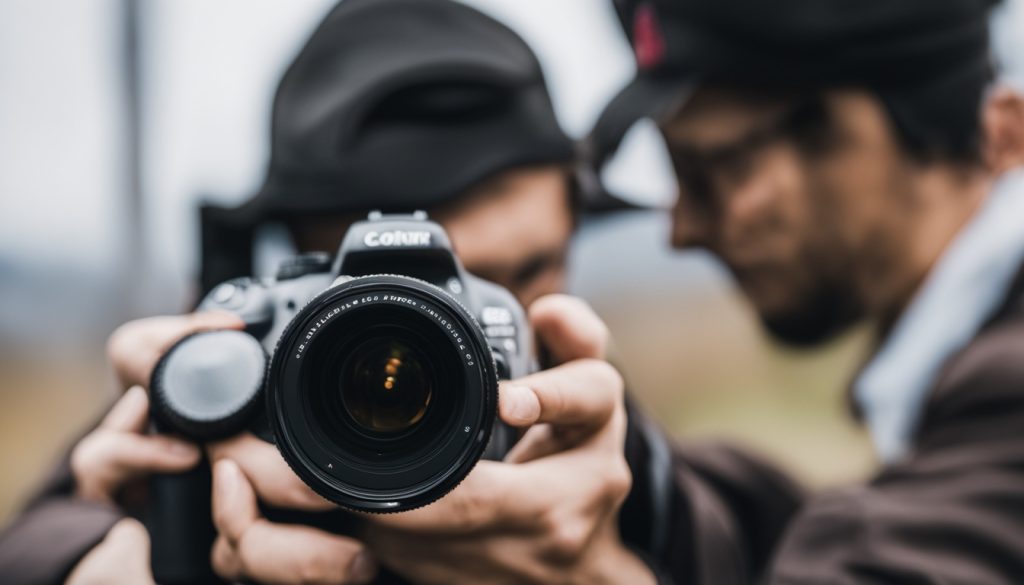
First, make sure you’re using both hands. Hold the right side of the camera with your right hand. Then, put your left hand under the lens for more support. Keeping your arms close to your body also reduces movement. And stand with your feet about shoulder-width apart. This helps you stay steady, especially when taking lots of photos in a row.
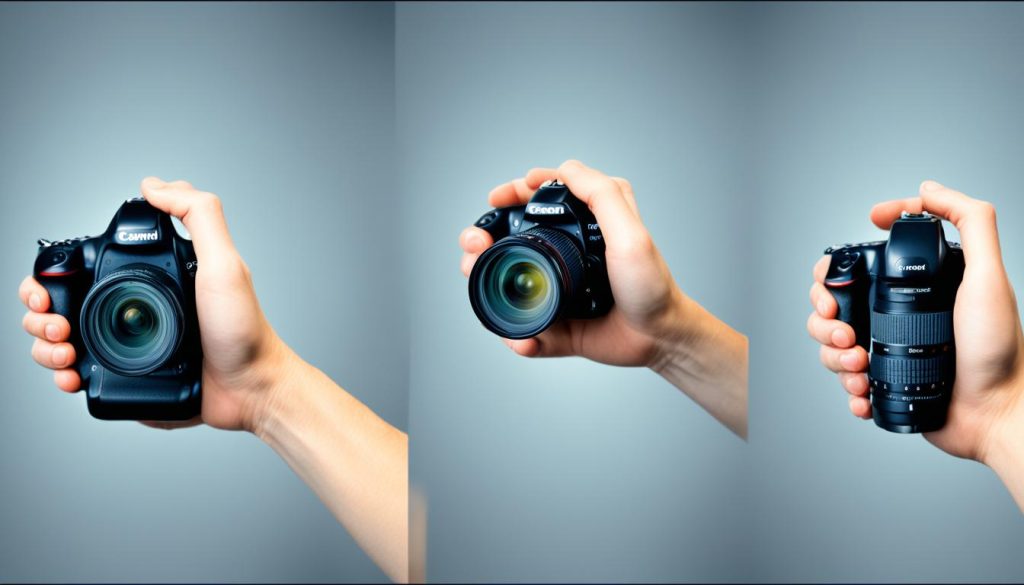
A camera strap can add even more stability. Wear it around your neck or wrist. This prevents the camera from falling and adds balance. Leaning against a wall or using a tripod is another great idea. These are common tips shared in photography classes. They guarantee sharp and steady photos.
Remember, staying relaxed is key. If you’re tense, you might make the camera move. Before you take a picture, take a deep breath. Then, gently press the shutter button. Keep at it and these tips will start to feel natural. You’ll soon see sharper, more focused photos. These tricks will keep your images clear and sharp, by reducing camera shake.
Composition Techniques for Stunning Photos
Photographic composition is key in great photos. Learning to frame and balance photos can turn a plain picture into a story. The rule of thirds is crucial, splitting your view into nine parts. This helps place your subject for a strong photo.
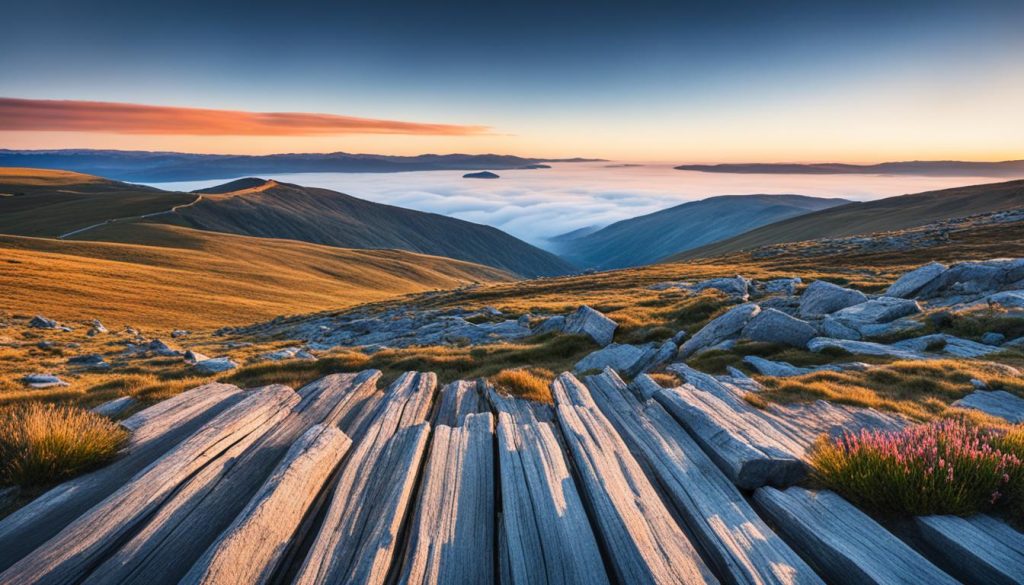
Framing is another vital part of good photos. Find ways to include natural frames in your picture. Trees, archways, and windows can all point to your main subject, drawing viewers in.
Balance is also important. A well-balanced photo feels complete and harmonious. Think about the colors, light, and shapes in your photo. Then, try these tips and see how your photos improve.
Shooting in Different Lighting Conditions
Light plays a big role in photography. It can be your best friend or your worst enemy. Knowing how sunlight changes throughout the day is key. Morning and late afternoon light is soft and warm, great for photos. But harsh midday sun can make your photos look bad.
Learning how to handle different light is vital. You can use a diffuser to make shadows softer. Or finding shade for more even light can work. Overcast days may seem dull, but they spread light evenly, perfect for capturing details smoothly.
Sometimes, you need to add your own light to the scene. This is where artificial light comes in. When it’s dark or you’re inside, external flashes or lamps are a must. Bounce your flash off surfaces for a gentle, polished effect. This avoids harsh shadows and too much glare.
If you want to get better, try learning from lighting tutorials and gear reviews. They can teach you a lot. They show how to succeed in various lighting situations. This includes how to deal with bright spotlights or soft background light. By mastering both natural and artificial light, you’ll see your photos get better.
Post-Processing Basics for Beginners
Post-processing makes your photos go from good to great. If you’re just starting, learn the key points of photo editing software and retouching. Basics of editing like Adobe Photoshop, Lightroom, or GIMP are great to know.
Choose your favorite software first. Then, get into fixing photos. This means adjusting brightness, fixing colors, and removing spots. Small changes can make your pictures look much better.
Learning more techniques can really boost your editing game. Techniques like dodging, burning, and using layer masks help. They make your photos interesting and unique. Look into online courses or software guides for more help on these.
Looking at before-and-after photos can show you the potential. Then, practice a lot. The more you work with your software and photos, the better you’ll get.
Common Mistakes and How to Avoid Them
Starting your journey in photography is exciting. But it’s key to watch out for common mistakes. One big error is focusing everything in the center. Instead, try using the rule of thirds for more interesting photos.
Another big mistake is ignoring exposure settings. Beginners often use auto mode too much, leading to dark or too bright photos. It’s crucial to learn about manual settings to control your photos better. Always practice and learn from your mistakes.
Many beginners also struggle with focusing. They might end up with images that are blurry because they didn’t choose the right focus point. In portraits, for example, you should focus on the eyes. This ensures your photos are sharp. Remember to learn from these mistakes to get better.
Don’t forget about post-processing. Sometimes, people think a photo must be perfect from the start. But editing can actually make a big difference. However, it’s important not to go overboard with editing. Just use editing tools to tweak things like exposure and sharpness. This will help you create amazing pictures without the mistakes.
Tips for Shooting Different Types of Photography
Exploring photography genres is exciting. By trying out landscapes, portraits, and street photography, you can learn what you love most.
For amazing landscape shots, follow these landscape photography tips. Use a tripod to keep your photos steady. Shoot during the golden hours of sunrise or sunset for the best light. Also, playing with your camera’s settings can help get all the details. Remember, patience is essential in landscape photography.
When taking portraits, remember this portrait photography guide. Always focus on the eyes. Use a wide aperture to blur the background, and ensure your subject is comfortable. Capturing natural expressions is key. Let your subject’s true self shine in each photo.
Street photography is a unique skill. To excel, blend into your surroundings and have your camera ready. It’s about capturing real, authentic moments of life on the streets.
Exploring photography genres involves learning from experts. Read books focused on specific types of photography for detailed advice. Hear from photographers in interviews to pick up their tips. And, check out galleries online for genre-specific inspiration. Finding what speaks to you and building your unique style is crucial.
There’s no one right way to explore photography. Keep trying new things, learning, and evolving your style. Enjoy the journey of discovery in photography genres. You never know where it might take you.
Conclusion
Starting your journey in photography means you’re joining a long line of pros. Everything you’ve learned here is like building blocks for your future. As you get better and better, remember to keep practicing and never stop learning.
Photography is more than knowing your camera. It’s about being creative, always exploring. Look up to the greats, like Annie Leibovitz and Brandon Stanton. They’ll inspire you to capture real moments and to always strive for better in your art.
Don’t worry about making mistakes as you learn. Mistakes are just chances to get better. Connect with other photographers, maybe through social media or clubs. They can give you valuable advice. As Scott Kelby says, feedback is key to improving. Always remember, becoming a great photographer is about the journey. Keep exploring, learning, and most of all, have fun capturing the beauty of the world.

